Welcome to part 2 of this FreeSewing pattern design tutorial. In this part I will show you how to design a bespoke sewing pattern, start to finish.
Before you start
This tutorial assumes you are familiar with the following:
- Scalable Vector Graphics
- The coordinate system
- Units in FreeSewing
- Cubic Bézier curves
Which is a lot to assume. So if you’d like you can take a quick detour
via our Before you start guide.
It’s very short, but covers some basic
terminology and concepts that we’ll use throughout this guide.
Pick a template
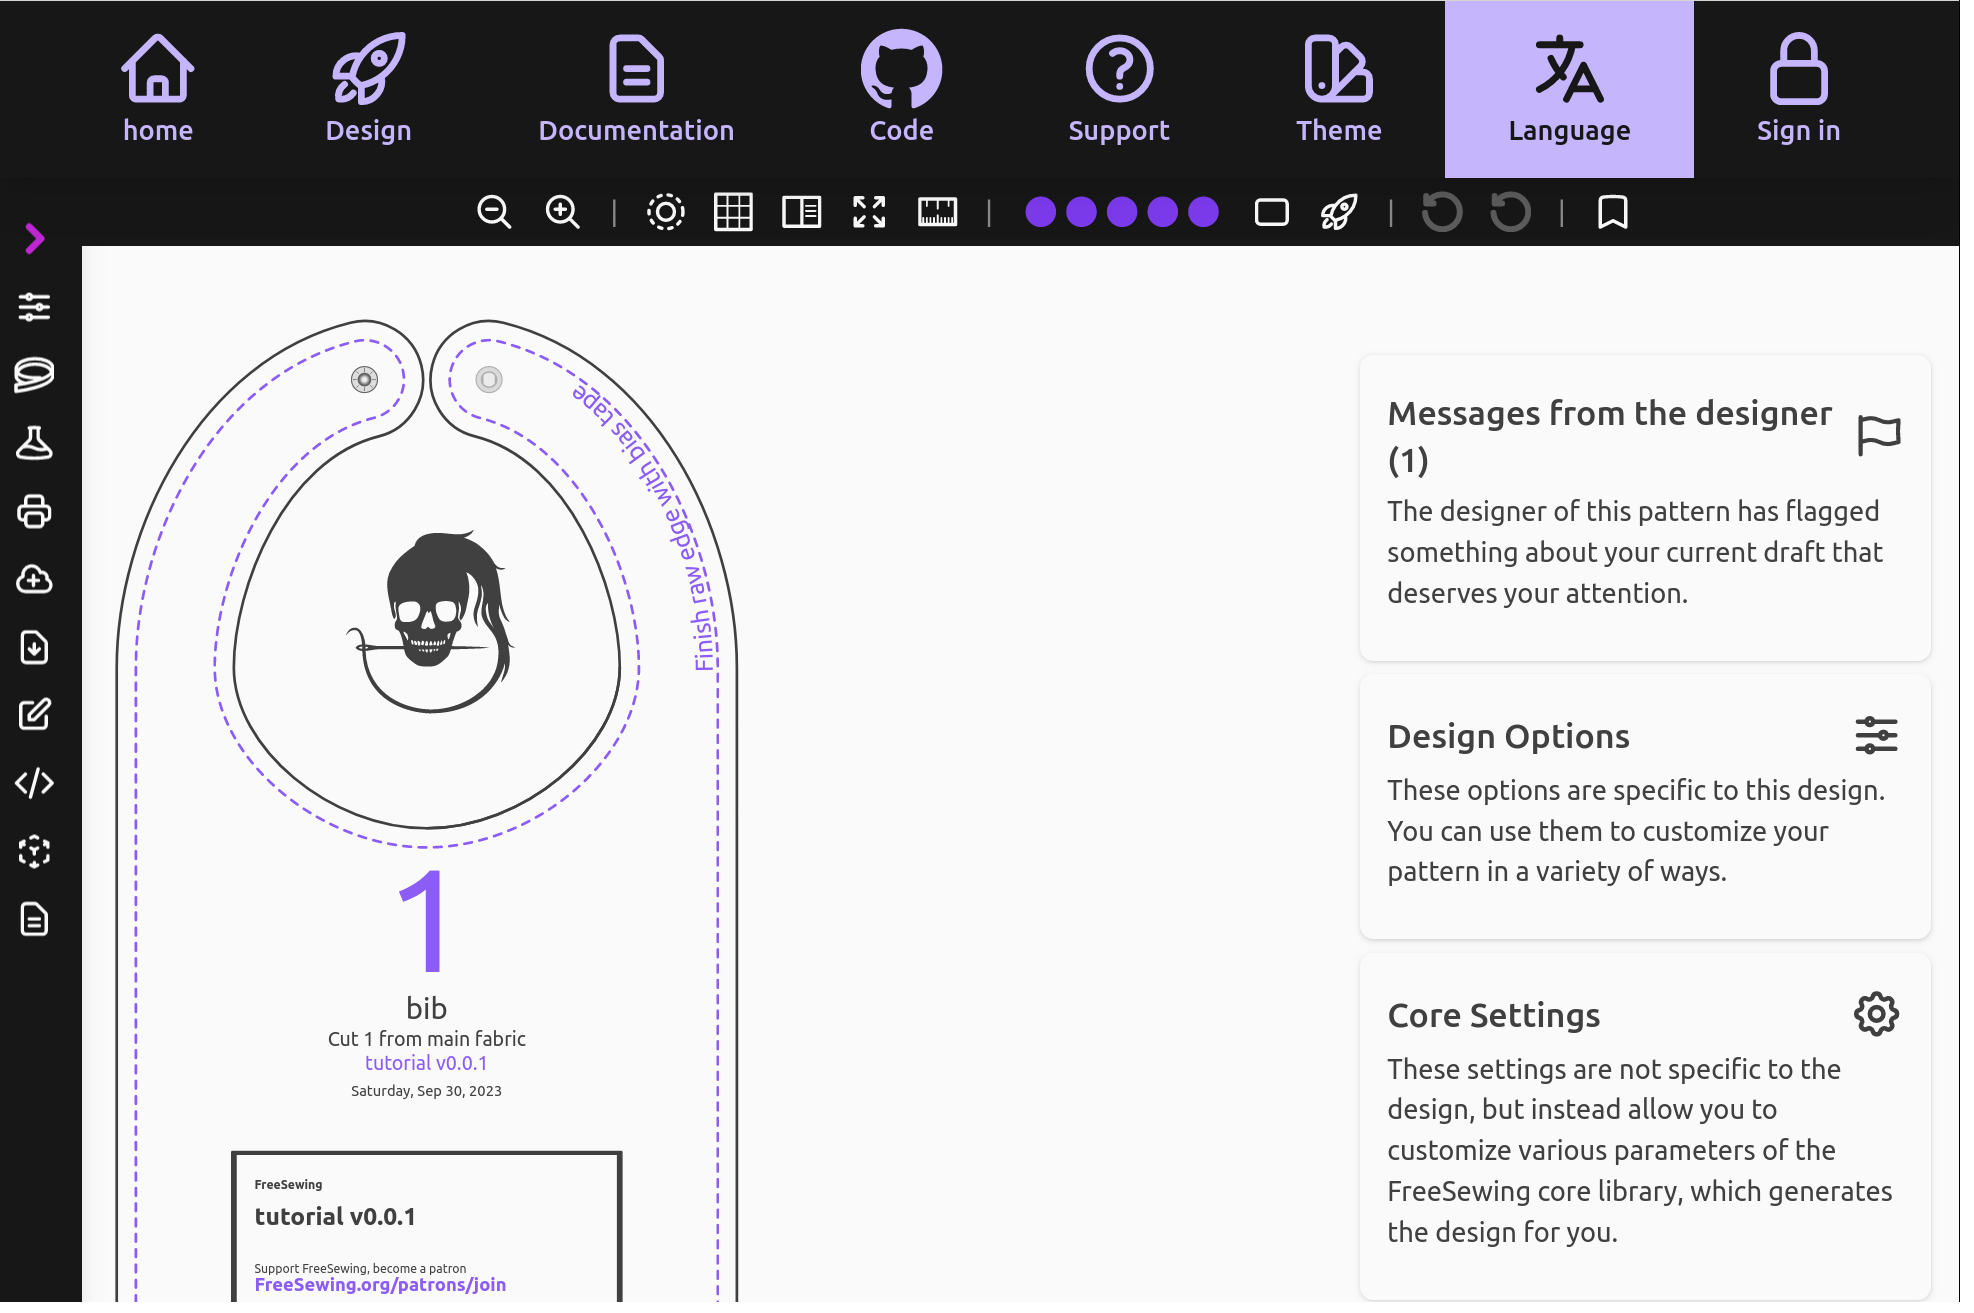
The FreeSewing development environment ships with several templates you can start from. I recommend you start From scratch as you’ll learn the most that way. But you can also start from the Tutorial template in which case you will already have the end result we are aiming for today:


Depending on the choice you made, you will need to edit files in a different folder.
- Edit files in
design/from-scratchif you are using the From scratch template - Edit files in
design/tutorialif you are using the Tutorial template
You can choose either, or even switch back and forth between both.
To follow along step-by-step with the tutorial, go to the design/from-scratch folder.